Recipes
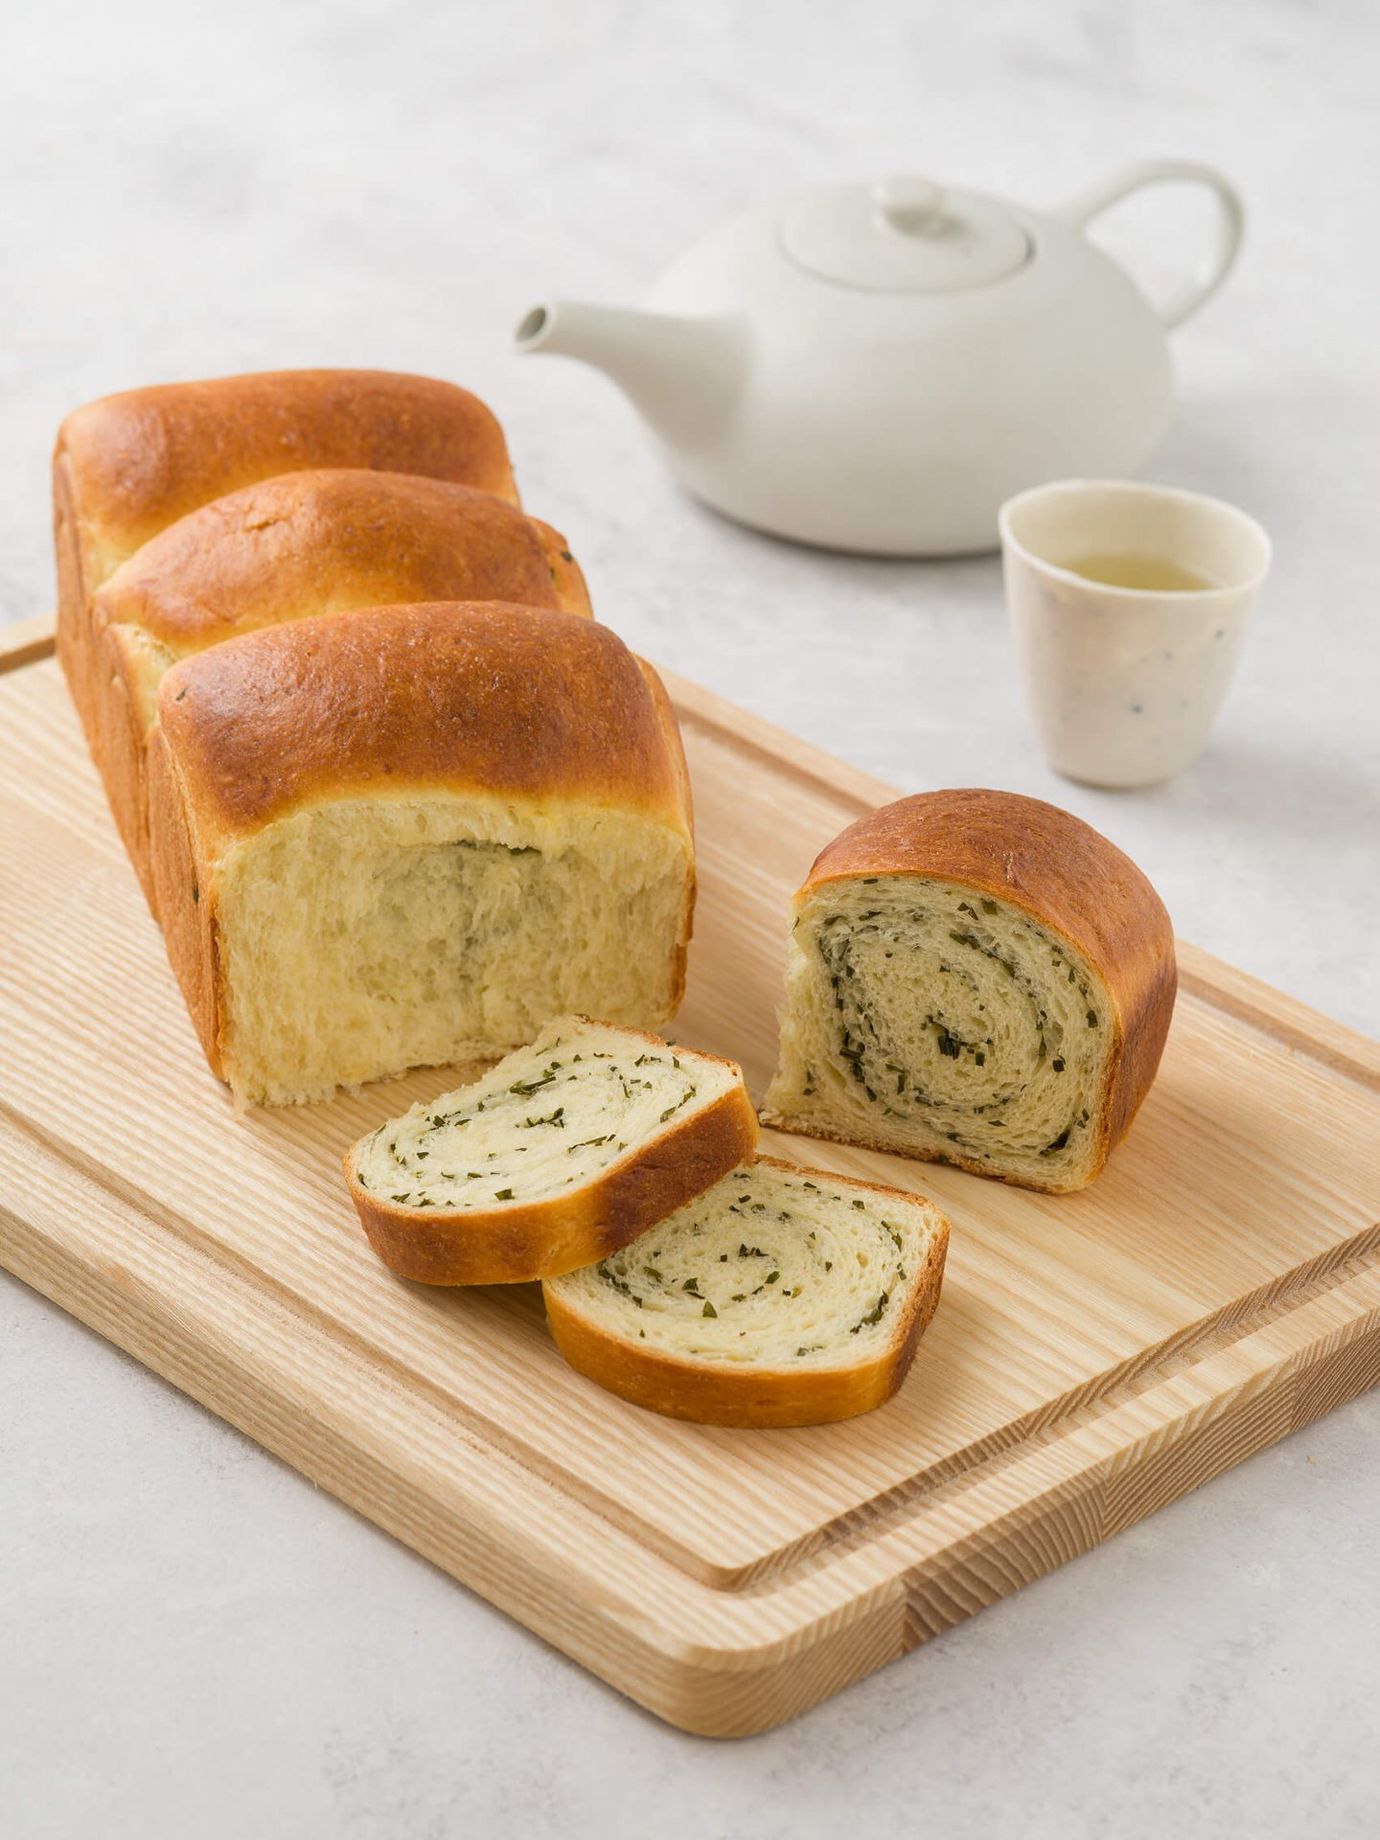
Chive Japanese milk bread
1 hour, 40 minutes Preparation time
20 minutes Cooking time
12 serves Serves
Ingredients
Dough
350g bread flour
15g dry milk powder
50g caster sugar
5g fine salt
16g dry yeast
100ml milk
1 egg
60g butter, melted
4 teaspoon vegetable oil
50g chives, finely chopped
Water roux
45g water
45g milk
15g bread flour
Egg wash
1 egg
1 tablespoon milk
Method
Water roux
1. Whisk together water, milk and bread flour in a small saucepan until no lumps remain.
2. Place saucepan over low-medium heat, Induction setting 3-4, stirring constantly until roux coats the back of a spoon, approximately 3-5 minutes.
3. Cover and leave to cool while weighing out the dough.
Dough
1. In a freestanding mixer bowl, mix together flour, milk powder, sugar, salt and yeast to combine.
2. In another bowl, whisk together the milk, egg, melted butter and cooled water roux until well combined.
3. Pour liquid mixture into dry mix and knead together by hand or in a mixer for 10 minutes. The dough will be very sticky in the beginning but it will start to come away from the bowl. After 10 minutes, the dough should be smooth, elastic and form a slightly tacky taut ball.
4. Transfer dough into a large bowl. Place bowl onto an oven rack on shelf position 2 and prove for 45 minutes at 40°C, or until dough has almost doubled in size.
5. Turn out dough onto a work surface. Divide dough into 4 equal pieces and cover remaining pieces whilst working with the first ball of dough. Using lightly oiled hands, shape the ball of dough into a log with one end facing you.
6. Using a rolling pin, flatten the dough to form a long narrow rectangle. Rub 1 teaspoon of vegetable oil onto the dough and scatter with chopped chives.
7. Starting from the end closest to you, roll the dough into a log, encasing all the chopped chives.
8. Place the dough, seam side down into a lightly greased 28cm bread tin. Repeat with remaining 3 balls of dough, placing the logs side by side in the bread tin.
9. Place bread tin onto an oven rack on shelf position 2 and prove at 40°C for another 30 minutes.
10. When the bread rolls have doubled in size, remove the tin from the oven and brush egg wash onto the top of the bread.
11. Select Moisture Plus at 180°C with 1 burst of steam. Once the oven is up to temperature, place loaf in the oven on shelf position 2 and release the burst of steam. Bake for 20 minutes.
12. Remove from the oven and leave in the bread tin for 5 minutes before turning out. Cool before slicing.
Egg wash
1. Prepare egg wash by whisking the egg and milk together.
Hints and tips
- The water roux is used in a lot of Asian styled bread. The theory is that the water roux gelatinizes at 65°C. When water roux is added to bread dough, it maintains the moisture in the bread, prolonging the softness and eating quality of the bread without preservatives. This bread can be kept in an air-tight container at room temperature for 3 days.
- This recipe can also be prepared the day before until step 6 and refrigerated until ready to use. Bring to room temperature the next day by using the Prove function at 40°C for 45 minutes to an hour and then proceed to step 7. The loaf can also be baked completely and frozen. Defrost and re-heat on Moisture Plus at 180°C with 1 burst of steam for 20 minutes before serving. The dough is very versatile and can be used as a base for other breads such as cheese scrolls, filled buns or fruit plaits. For intensive onion flavour, spring onion oil can be substituted for vegetable oil.